Creating Rust or Chipping Effects using Hairspray Technique
Published with kind permission of Ian Sadler IPMS Armour TAS
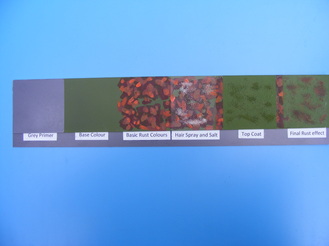
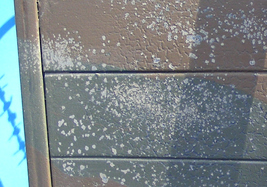
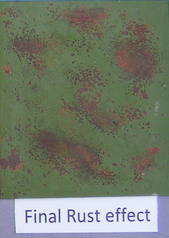
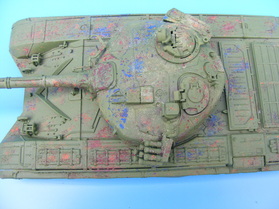
This method is best seen in conjunction with the working demo display on the table. To start with you need to use grey primer and then a light spray of the final colour. Then leave to harden off for at least 2-3 days. Then depending on the effect you want i.e. rusting chipping or just plain multi-colour chipping; select the colours you need. For Rusting I use Vallejo acrylics. At the very least 4 different shades of brown or in the example on display 6 shades. The colours used are as follows colour first then the number. Dark rubber no 306 , Smoke no 181, Hull Red no 146, Chocolate Brown no 149, Mahogany Brown no 139, Flat brown no 140, Red Leather no 136, Orange red no 027. The Method is to start with the darkest shade and work up to the lightest ending with orange. Cover large areas and overlap them to mute the effect. By varying the overlapping colours you can replicate concrete that has been over painted or tarmac. When it looks like the display model, it is ready to be set aside for at least 2 days to harden off. Spray on the Hairspray and then while tacky sprinkle on the salt; you can use Table Salt or Sea salt and lastly Rock Salt, all of which give different surface areas to uncover. Note (Do not use scented hairspray to as it will affect the finish). Leave to dry, you will know when it is ready when the salt dries to its normal look. Then spray on the top coat and leave to harden off, then using any of the following items all soaked in water, a cotton bud, blunt cocktail stick and an old toothbrush to soften the salted areas and remove the top coat; revealing the rusted or chipped area. This will only work with acrylic paints, I have not tried it with enamels. |

|
|


